

How to Create Clean Timelapse Video on Neptune 4 Series
- Using the Elegoo Neptune 4 Plus as an example -
Update: 2024-06-27
Creating timelapse videos of your 3D printing process can be a fascinating way to showcase your work, analyze print failures, and share your creations with the community. Using Klipper firmware, you can achieve high-quality timelapse videos with some configuration and setup. Using the Elegoo Neptune 4 Plus as an example, this guide will walk you through the steps to create stunning timelapse videos using your Klipper 3D printer.
To get started, you will need the following:
1. A Klipper Printer,such as Elegoo Neptune 4 plus 3D printer
2. A compatible camera. (e.g., USB webcam or Raspberry Pi camera or BeagleCamera)
3. A computer to access and configure the printer.
1. Step-by-Step Guide:
1.1 Obtain Printer IP Address.
First, find the IP address of your printer. This is usually displayed on the printer's screen.

Using PuTTY, access your printer by entering its IP address and logging in with your credentials (typically, the username is mks and the password is makerbase).


1.3 Modify Configuration File.
Open the sources list with the following command:
sudo nano /etc/apt/sources.list

Add the following line to ensure security updates:
deb http://deb.debian.org/debian-security buster/updates main contrib non-free
Comment out the existing line:
# deb http://deb.debian.org/debian buster-backports main contrib non-free
Update and upgrade the system: (This process takes about 15-20 minutes)
sudo apt-get update
sudo apt-get upgrade
sudo apt-get dist-upgrade
1.4 Install Timelapse.
Clone the Moonraker timelapse repository and install it:
cd ~/
git clone https://github.com/mainsail-crew/moonraker-timelapse.git
cd ~/moonraker-timelapse
make install


1.5 Install FFmpeg.
Install FFmpeg for video processing:
sudo apt-get install ffmpeg
1.6 Configure printer.cfg.
Include the timelapse macro configuration in your printer.cfg file:

# printer.cfg
[include timelapse.cfg]

Follow the detailed instructions on the Moonraker configuration page.
https://github.com/mainsail-crew/moonraker-timelapse/blob/main/docs/configuration.md
1.7 Configure Slicer Settings.
In your slicer software (e.g., Cura), navigate to add a script:


Go to Extensions -> Post Processing -> Modify G-Code
Add a script to insert at layer change with the G-code: TIMELAPSE_TAKE_FRAME
Follow the detailed instructions on the Moonraker configuration page.
https://github.com/mainsail-crew/moonraker-timelapse/blob/main/docs/configuration.md
1.8 Update moonraker.conf and Activate the Component.
1.8.1 Modify the moonraker.conf file to include timelapse configuration:

[update_manager timelapse]
type: git_repo
primary_branch: main
path: ~/moonraker-timelapse
origin: https://github.com/mainsail-crew/moonraker-timelapse.git
managed_services: klipper moonraker

1.8.2 Activate the Component.

# moonraker.conf
[timelapse]
## Following basic configuration is default to most images and don't need
## to be changed in most scenarios. Only uncomment and change it if your
## Image differ from standart installations. In most common scenarios
## a User only need [timelapse] in their configuration.
#output_path: ~/timelapse/
## Directory where the generated video will be saved
#frame_path: /tmp/timelapse/
## Directory where the temporary frames are saved
#ffmpeg_binary_path: /usr/bin/ffmpeg
## Directory where ffmpeg is installed

For IP cameras like BeagleCamera, add a snapshot URL: snapshoturl: http://192.168.0.4/images/snapshot1.jpg
(Replace 192.168.0.4 with your camera's IP address.)

2. Configuring and Using Timelapse:
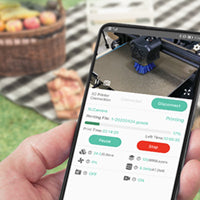
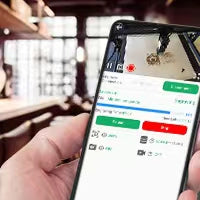
2.1 Select the camera you want to enable timelapse for: Settings -> Timelapse -> Camera.
2.2 Select the mode you want to enable timelapse for: Settings -> Timelapse -> Mode.


For detailed configuration, refer to this article: Moonraker Timelapse Configuration.
3.Tips and Tricks for High-Quality Timelapse Videos:
1.Camera Suggestion: Choose the Beagle V2 camera, allowing multiple cameras to be installed for video transmission and control as well as timelapse video shooting.
2.Lighting: Ensure your 3D printing area is well-lit to produce clear and sharp videos. Use consistent lighting to avoid shadows.
3.Camera Position: Position your camera to capture the entire printing process. A top-down view works well for smaller prints, while a side view is better for taller prints.
4.Focus: Make sure the camera is properly focused on the print. Use a fixed-focus camera or an adjustable focus lens to ensure sharp images.
4. Conclusion:
By following these steps, you can set up and configure timelapse functionality on your Klipper 3D printer. Experiment with different settings and techniques to create impressive timelapse videos that showcase your 3D printing projects. Share your results with the community and continue to refine your skills. Happy 3D printing!
5. FAQ:
5.1 Error: 'timelapse.cfg' not found.

Search for the file:
sudo find / -name "timelapse.cfg"
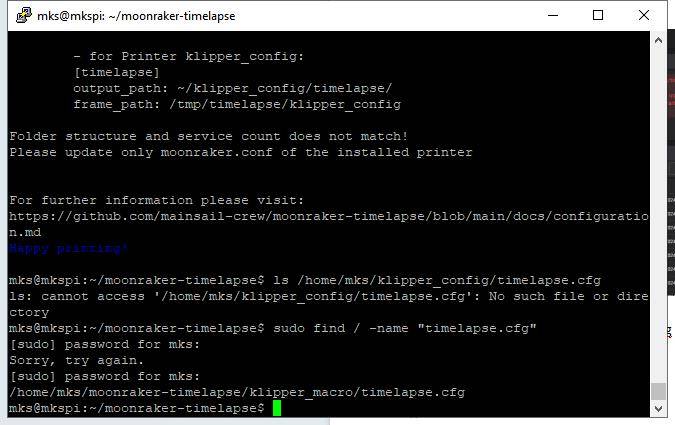
Copy the "timelapse.cfg" file to the specified location:
('/home/mks/klipper_config/timelapse.cfg')
sudo cp /home/mks/moonraker-timelapse/klipper_macro/timelapse.cfg /home/mks/klipper_config/
Restart.
5.2 Unable to Resolve GitHub Domain via DNS.
Try modifying the DNS configuration:
sudo nano /etc/resolv.conf
Add:
nameserver 8.8.8.8
nameserver 8.8.4.4
Save and rerun the commands.